Last summer, Sarah "Scrooge" Brown was bitten by something of an entrepreneurial bug: she wanted to open her own lemonade stand. Hmmm, I thought. Low overhead, cheap (free) labor, and a minimal investment in materials? That's my kind of startup.
But, what to use for the actual stand? There were a few necessary features I needed in my stand, portability, durability, and visibility paramount among them. Card tables were out since they're too big for my car AND the kids can't see over them. Buying one was out because have you SEEN how expensive they are?! Making one from, say, a discarded pallet was out, because I am not allowed to saw anything, on account of the fact that I can't even cut garlic bread without needing stitches (not whipping out the creative license on this one, folks. Twice. On the same finger.).
But then Michael's emailed me a 50% off coupon one day, and Joann's kindly followed suit the very next day. Of course I dragged the cherubs along to find something I needed. While I was hauling them out of the unfinished wooden crates they were trying to stuff themselves into, I noticed that if I turned the crates on their ends, standing them up vertically, they were the perfect height for our Lemony Lemonade stand. So, I bought one crate at each store with my coupons and planned my (painfully slow) attack.
Here were the results:
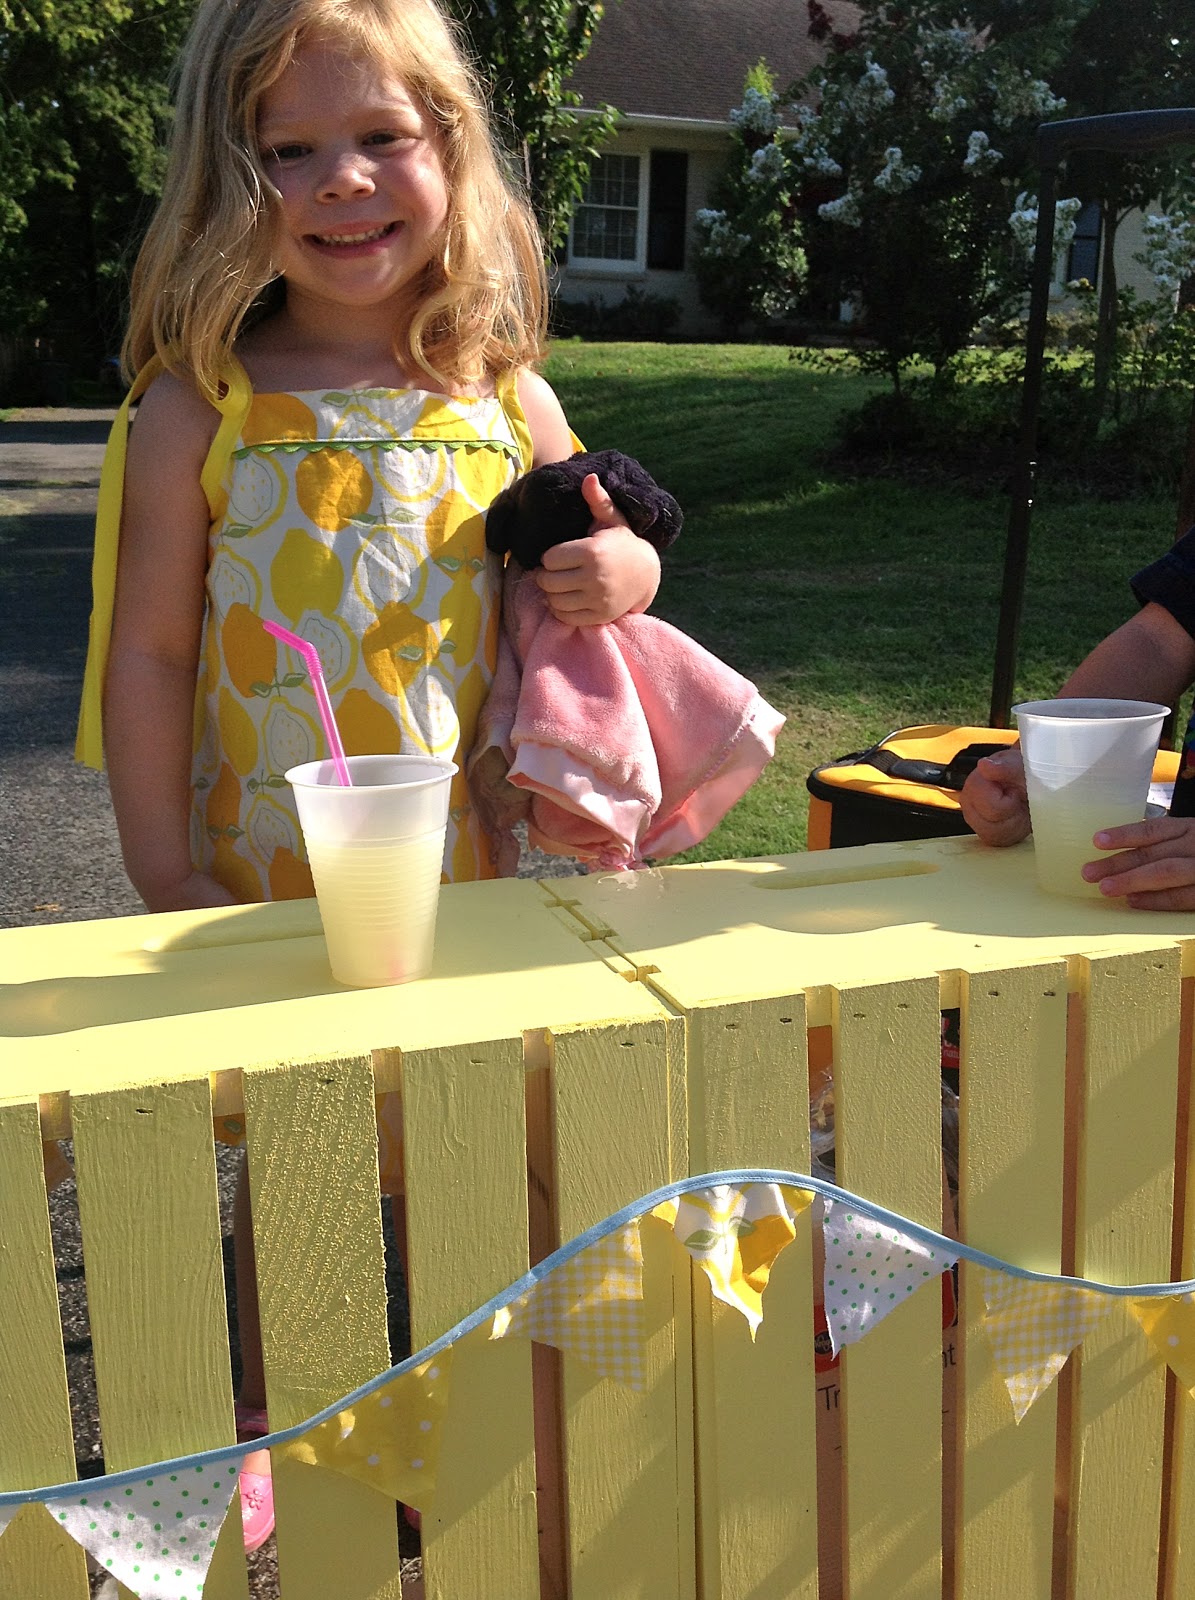 |
| Lemonade! Get your ice cold lemonade! |

Do you want to make a lemonade stand too?
Here's what you need:
- 2 unfinished wooden crates (shop here)
- 8 casters
- screwdriver
- screws
- 2 small hinges
- small paint sample
- paint brush
1. Paint your crates whatever color or colors you wish and let them dry completely.
2. Hinge your two crates together by standing them up vertically, open sides facing. Pick a side and butterfly your hinges somewhere near the top, and the other close to the bottom. You don't even have to drill pilot holes because the wood is so soft. Just be careful not to split it.

3. Screw the 8 wheels/casters onto the bottom of the crates at each corner. Again, no pilot holes necessary.


3. Screw the 8 wheels/casters onto the bottom of the crates at each corner. Again, no pilot holes necessary.

That's all there is to it!
4. Set the stand up at the end of your driveway in front of your two smiling kids, and watch the money roll in.

 |
| Photo bomb by Little Bro |

This stand was so easy to put together and it's really light and portable. You could even make it taller for older/taller kids by nailing boards to the bottom.
It's also really versatile.
In Part 2 of this DIY, I'll show you how to add a crossbar for signage that can convert to a curtain rod for a puppet theater. And there might be a bonus pattern for a manly lemonade shirt, since Will thinks he needs a uniform too.
I can't wait to set up the stand this year! We're thinking of diversifying our offerings with pink lemonade and snow cones, since Aunt Julie got us the Snoopy Sno-Cone Machine and we are dying to use it. We'll probably come down in price significantly as well, since charging $10 per glass didn't really hit the right note last year, but the CEO remains unconvinced that we can't market our powdered-drink-mix concoction as a luxury good.
No comments:
Post a Comment