Showing posts with label diy. Show all posts

Friday, June 28, 2013

Potato-Print Star T-shirts

Who's ready for the Fourth?!

Not me.  Not yet anyway.  We have to celebrate an even more important birth tomorrow. (Pssst.  I'll give you a hint: her name starts with "S" and ends in a silent "H".)

But at least we won't go shirtless on the big day, because we've got stars.  

AND stripes.

It all started when I saw this at Old Navy and some old potatoes in my pantry.  I thought, "Hey, wouldn't it be fun/insane to let the kids make their own stamped t-shirts?!" 

So, I gathered my fabric paints, plain t-shirts, star paper punch, potatoes, paint brushes, and X-acto knife and went to work. 
The fist thing I did was turn on My Little Pony for the kids.  *This step is critical if you want to have any hope of getting things ready without slicing off a thumb. 

Next, I punched my star out of some scrap paper as my template.  You could draw it yourself, but mine kept turning out all wonky.  

I cut the potatoes in half and stuck the template on the cut part. Then, I made some cuts around the template, slicing all the way to the edge of the tater.  Once that was done, I made a shallow cut around the brown skin of the potato and popped the extra pieces of potato out, leaving a perfect little star.  

Ok, the hard part is done.  Now you just have to keep your little Monets from getting fabric paint all over the house.  

We took it outside, and here's our setup:
To avoid the color-mixing pitfalls inherent in painting, I designated a potato stamp and paint brush for each color.

Before we started painting, we inserted some freezer paper between the t-shirt layers so we wouldn't have any bleed-through in the final results and to make a smoother surface to write on or use the brushes, if they got tired of stamping.

And, AWAY they went!
Will went for a smattering of stars...
While Sarah reinterpreted VanGogh's masterpiece as wearable art:
I tried to recreate the Old Navy shirt.  
BTW, you know you're cheap when you're knocking off Old Navy.
Once the colored paint dried, we went back and added 
some glow-paint stars for a cool night-time effect.

And here's the finished product:

This project exceeded my very low expectations in several ways:
no fights broke out during the painting, 
we kept the colors decidedly un-sludgelike,
and nobody got paint anywhere besides the t-shirts.

I call that a rousing success.

Happy Friday!

P.S. If you're looking for a patriotic painting project, this one from last year was super-fun.

Sunday, June 2, 2013

New Towels for the Lego-Obsessed

Is it just me, or does anyone else like cool beach towels?  I covet the pretty ones in Target and Old Navy and drool over the selection at Pottery Barn Kids, but I'm cheap.  And addicted to making stuff.  So, year after year, we use the same boring ones I got for free from work, and nobody really complains or cares.

This year, though, I wanted a change.  My kids love the hooded towels made to look like ducks or hippos or monsters.  The possibilities are endless as to the embellishment on those towels, but, since I'm lazy, I had to figure out a simple way to construct the hoods.  I came across this tutorial, and it was on. 

Sarah and Will's current obsession: Ninjago: Masters of Spinjitsu.  I kind of love it too, because you really can't go wrong with Legos.  Plus, it's so easy to turn anything solid-colored into a ninja, like the Easter eggs we made this year with Sharpies. 
 So, here we go.  Let's start with the list of materials, shall we?
  • 1 regular bath towel in preferred color (or terry cloth off the bolt)
  • 1 coordinating hand towel (or 20" of terry cloth)
  • scrap yellow terry cloth or fleece
  • scrap white terry, felt, or fleece
  • scrap black terry, felt, or fleece
  • notions
Step 1: Place the pattern Mask piece along the fold of the yellow terry cloth and cut.  
           Set aside.
Step 2: Cut your hand towel to about 14" in length.
Step 3: Make an arc on the top of the hand towel from about 6" deep to make the hood,   like so:
Step 4: Sew along the arc line and cut off the excess fabric to about 1/4" seam allowance:
Set hood aside.
 Step 5: Applique your eyes and eyebrows onto your yellow mask pieces.  I sewed around them in a zig-zag stitch to prevent fraying.
Here's what they look like without the pupils:
Step 6: Applique your ninja mask onto the hood, centering the mask on the fold line.  Again, I used a zig-zag stitch, but you could serge and then sew as well.
Step 7:  Sew/serge the hood onto the towel.  Simply find the middle of your towel and hood (by folding them in half), and pin from the middle outwards.  Sew along the pins.
Step 8: You're done!  Admire your creations upon your swim-exhausted progeny and contemplate numerous other ways to improve upon your handiwork.

Take a bow!
Here's the link to the template for the Ninja mask, eyes, eyebrows, and pupils that I drew up by hand:  Ninjago Mask Template.


Wednesday, May 15, 2013

DIY Silhouettes

Is it just my mom, or are all moms hard to buy gifts for? 

Sure, I can use my offspring for various projects and sentimental gifts.  Shoot, I can even get them to make something, and no matter how sludge-colored and lumpy it is, my mom will dutifully ooh and ahhh over it, proudly displaying it in a place of honor on her mantle. 

But sometimes I want her to make a big deal over my ugly creations. 

That's why I set out to make her a silhouette of the kids holding hands.  Not because it's ugly, mind you.  Silhouettes are classic and graphically modern, and my kids are a-DOR-able, if I do say so myself.  Win-win. 

* I don't think my kids' creations are ugly, either.  They're priceless works of art.*

So, here's what I did.

First, I gathered my materials:
  • Black cardstock
  • Photo
  • Xacto knife
  • Self-healing cutting mat
  • Tape 
  • Pencil
  • Watercolor paper
  • Picture frame
1. To begin with, carefully cut your photo out.  Make sure you cut around any details in the photo: curls of hair, the corner of a dress, any of these types of things make a silhouette more unique.
 2.  Once I cut my picture out, I put some tape on the front and placed the photo face-down on the card stock. 
 3. I drew around the cut-out with pencil...
 4.  ...lay the paper on the cutting mat, and carefully cut along the pencil lines with my Xacto knife.
 5.  Pop it in a frame, and you're all done!

Here's the finished cut-out, right-side-up.  Even though it turned out well, Will looks like a chunky-monkey compared to Sarah because he's in the foreground of the photo.  Next time, I would probably use a picture in which they're standing the same distance from the camera.
 Here's the final result, looking pretty professional, I might add.  Ready for it's place of honor on the mantle.
Sorry it's late, Mom!

Wednesday, April 17, 2013

Lemony Lemonade Stand (Part 1)


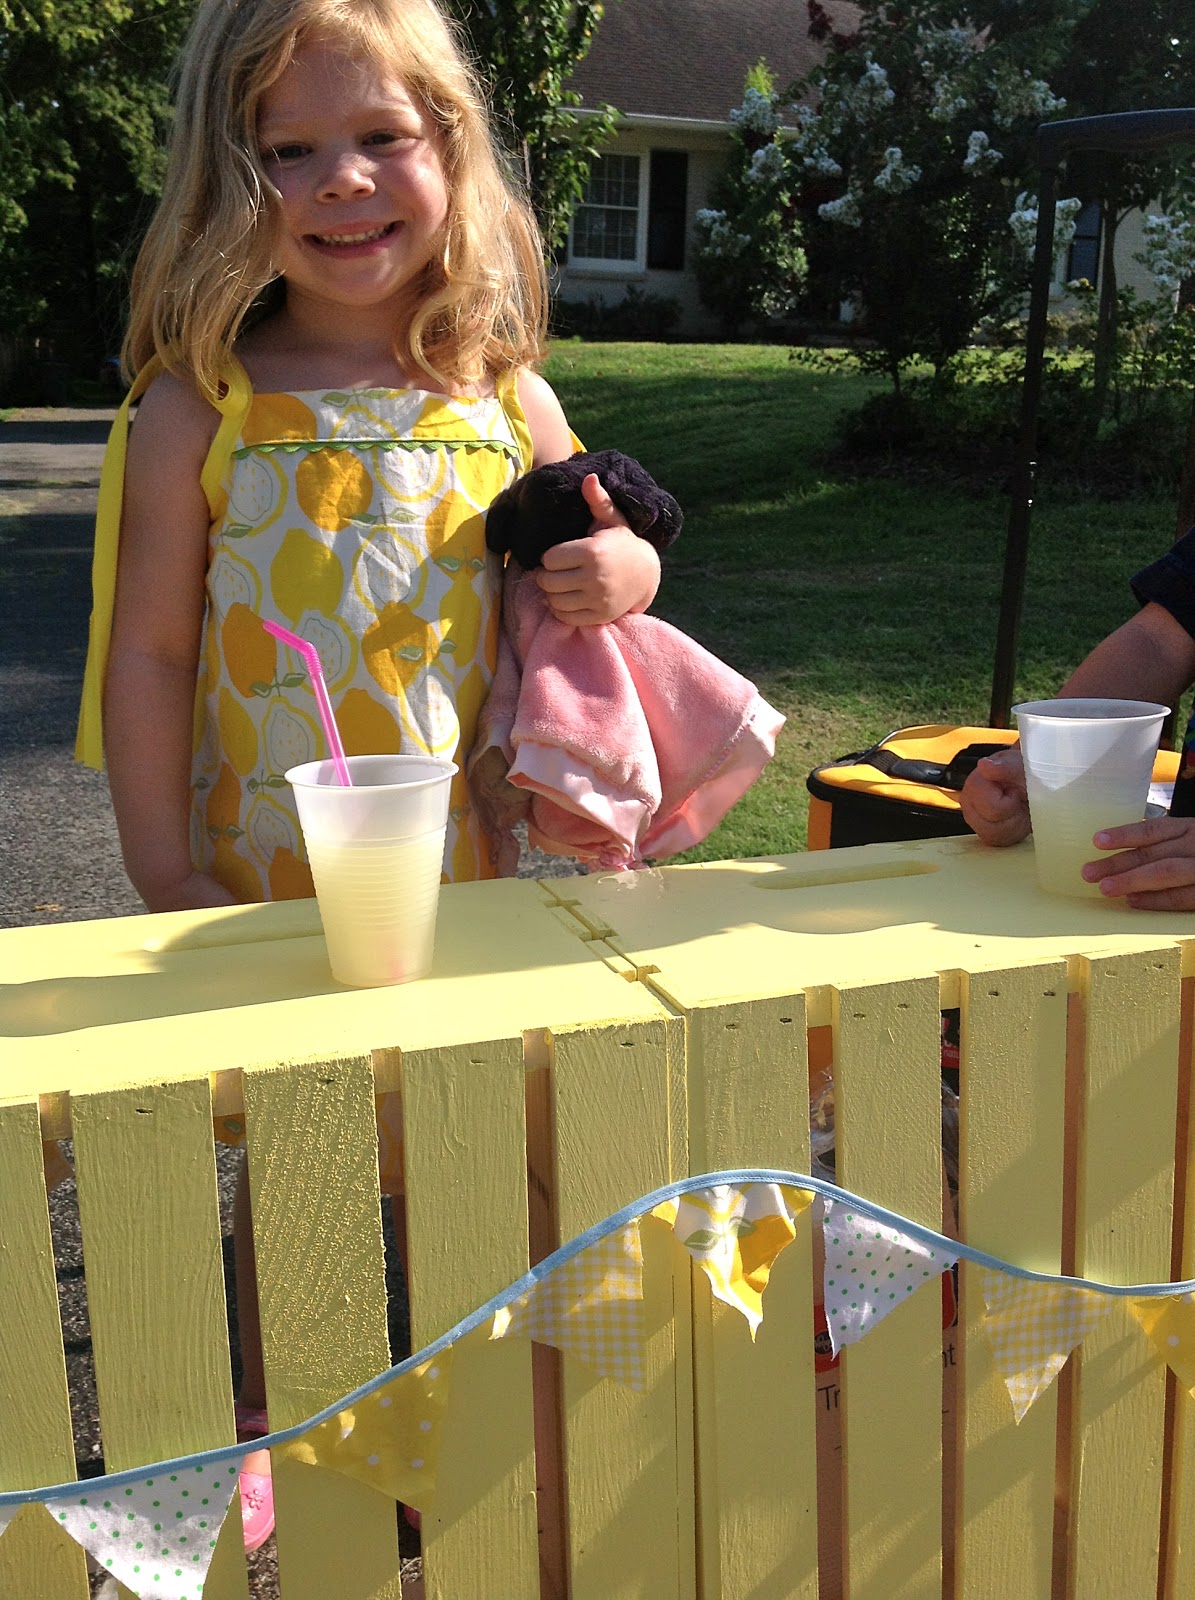
Last summer, Sarah "Scrooge" Brown was bitten by something of an entrepreneurial bug: she wanted to open her own lemonade stand.  Hmmm, I thought.  Low overhead, cheap (free) labor, and a minimal investment in materials?  That's my kind of startup.  

But, what to use for the actual stand?  There were a few necessary features I needed in my stand, portability, durability, and visibility paramount among them.  Card tables were out since they're too big for my car AND the kids can't see over them.  Buying one was out because have you SEEN how expensive they are?!  Making one from, say, a discarded pallet was out, because I am not allowed to saw anything, on account of the fact that I can't even cut garlic bread without needing stitches (not whipping out the creative license on this one, folks.  Twice.  On the same finger.).  

But then Michael's emailed me a 50% off coupon one day, and Joann's kindly followed suit the very next day.  Of course I dragged the cherubs along to find something I needed.  While I was hauling them out of the unfinished wooden crates they were trying to stuff themselves into, I noticed that if I turned the crates on their ends, standing them up vertically, they were the perfect height for our Lemony Lemonade stand.  So, I bought one crate at each store with my coupons and planned my (painfully slow) attack.  

Here were the results:


Lemonade! Get your ice cold lemonade!


Do you want to make a lemonade stand too?

Here's what you need:
  • 2 unfinished wooden crates (shop here)
  • 8 casters
  • screwdriver
  • screws
  • 2 small hinges
  • small paint sample
  • paint brush
1. Paint your crates whatever color or colors you wish and let them dry completely.

2. Hinge your two crates together by standing them up vertically, open sides facing.  Pick a side and butterfly your hinges somewhere near the top, and the other close to the bottom.  You don't even have to drill pilot holes because the wood is so soft. Just be careful not to split it.


3. Screw the 8 wheels/casters onto the bottom of the crates at each corner.  Again, no pilot holes necessary.


That's all there is to it!

4.  Set the stand up at the end of your driveway in front of your two smiling kids, and watch the money roll in.  


Photo bomb by Little Bro

This stand was so easy to put together and it's really light and portable.  You could even make it taller for older/taller kids by nailing boards to the bottom.  

It's also really versatile. 
In Part 2 of this DIY, I'll show you how to add a crossbar for signage that can convert to a curtain rod for a puppet theater.  And there might be a bonus pattern for a manly lemonade shirt, since Will thinks he needs a uniform too.

I can't wait to set up the stand this year!  We're thinking of diversifying our offerings with pink lemonade and snow cones, since Aunt Julie got us the Snoopy Sno-Cone Machine and we are dying to use it.  We'll probably come down in price significantly as well, since charging $10 per glass didn't really hit the right note last year, but the CEO remains unconvinced that we can't market our powdered-drink-mix concoction as a luxury good.